A few weeks ago, I
saw this picture on Facebook, and sent it to my friend because it was so
perfect for her.
After she saw it, she said she wanted one and asked if I
would make one for her. Now, I’ve never made a clock before, but it was a
challenge I was willing to accept.
I didn’t see any
tutorials that “spoke” to me online, so I decide to just go for it. I had a
fairly large white canvas on hand, so I used that as the starting point. Then,
I used craft paint to paint it this pretty tan color.
I looked all around
for clock arms that I liked at craft stores, hobby stores, and even Walmart,
but I didn’t care for any of them. I wanted something a bit more sophisticated.
Finally, I settled for
{THIS} from Amazon, and I only paid $3.68 for it, so that was even better, my only
complaint was that it didn’t come with directions, but that was okay because I recruited
help from my dad. He’s a fountain of knowledge when it comes to random things
like that.
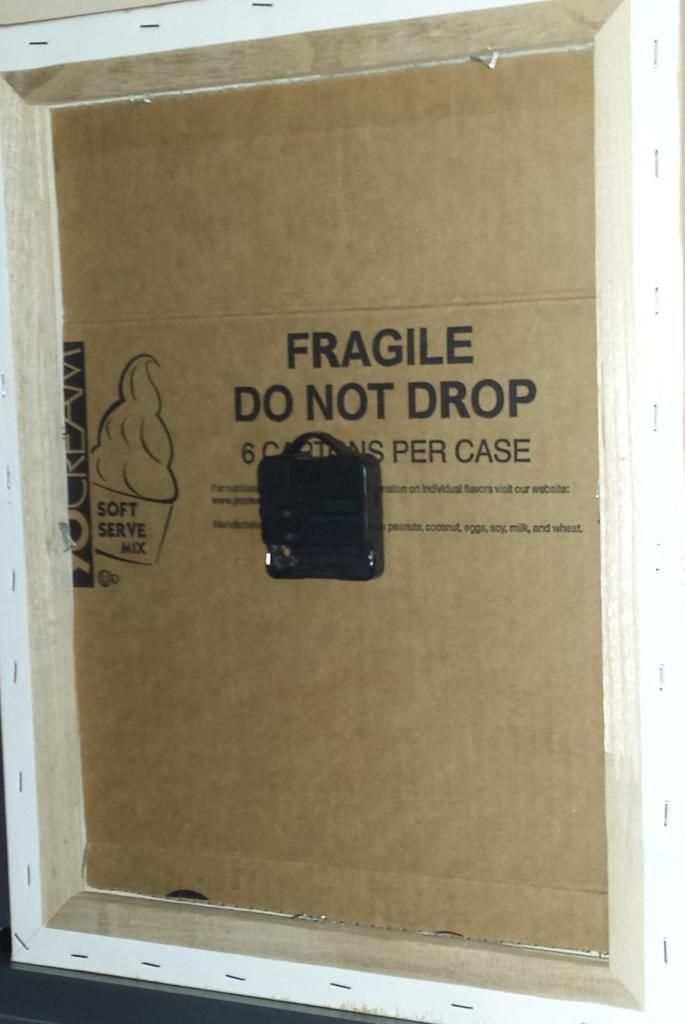
After measuring the center point and attaching the clock, we
realized that the canvas was too flimsy, and the clock mechanism wouldn’t stay
secure. So, he had to improvise a little and cut out cardboard to secure the
canvas and the clock parts. Problem solved! I didn’t take a picture of the next
step, but I painted the back of the canvas black.
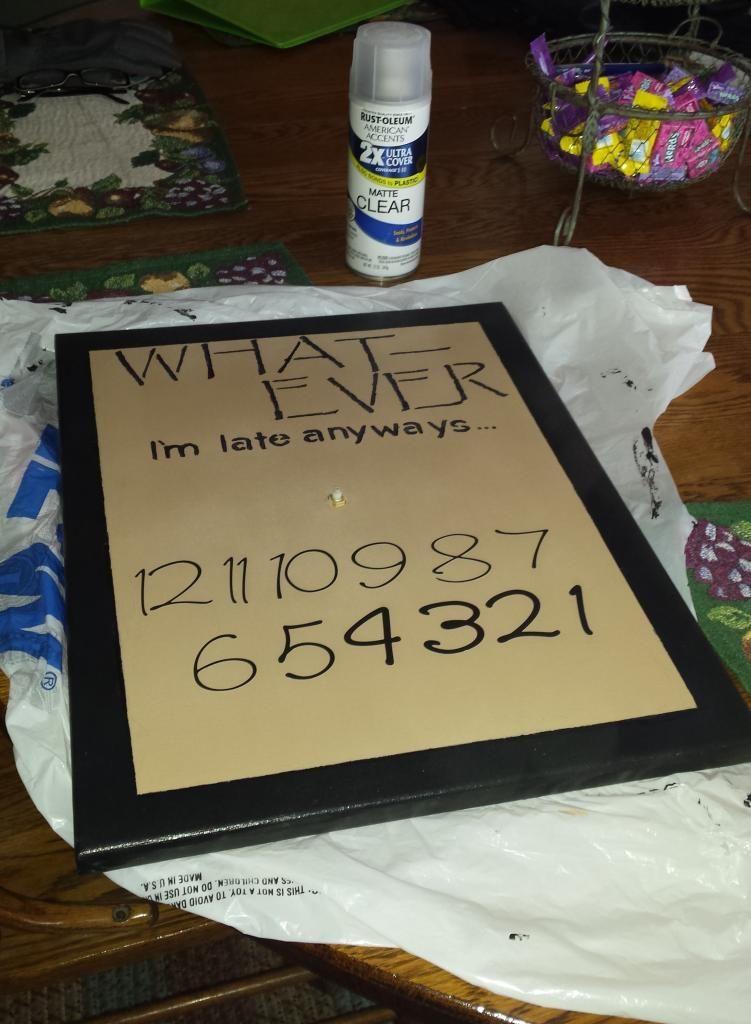
Then, that made me realize how “unfinished” the front of the
canvas looked. So, I decided to make a one – inch border around the edge in
black before I added the numbers and words. I had some stencils on hand and
leftover stickers from another adventure, so that what I used for this.
After I had everything situated and how I wanted it, I
sprayed it over with a clear matte finishing spray just to seal everything
together.
An here is the final finished product after attaching the arms of the clock.
I attached a picture frame hook on the back of the canvas and it is all set!


